22 KiB
| description | icon |
|---|---|
| Host the bot and its services yourself on a machine you own | server |
Self-Hosting
Step 2: Prepare your server
To set up the bot and its services, we first need to prepare our server. The steps may vary slightly depending on your server's operating system. Choose the instructions that match your OS. This guide assumes you have basic command line and server-managing skills.
MacOS/Linux Instructions
For Debian based Linux distributions using the x86-64 architecture
First, let's update our package lists and upgrade our existing packages.
{% code fullWidth="false" %}
# Update package lists:
sudo apt-get update

# Upgrade existing packages:
sudo apt-get upgrade -y
{% endcode %}
Next, let's install Node.js and the Yarn package manager (this is mostly copied and pasted from https://nodejs.org/en/download).
# Download and install fnm:
curl -o- https://fnm.vercel.app/install | bash

# Activate fnm in our current shell:
source ~/.bashrc

# Download and install Node.js:
fnm install 22

# Verify the Node.js version:
node -v # Should print "v22.14.0".

# Download and install Yarn:
corepack enable yarn

# Verify Yarn version:
yarn -v
Now, let's install git. This will make it so that we can clone the GitHub repository to our local machine (taken from https://git-scm.com/downloads/linux).
# Install git using built-in package manager:
sudo apt-get install git

# Verify git version:
git --version
Let's also install OpenSSL as we'll need it to generate SSL certificates for our PostgreSQL and caching databases:
# Install OpenSSL:
sudo apt install openssl

# Verify OpenSSL version:
openssl version
Next, let's install the pm2 process manager. This is how we'll run the Discord bot in a production environment (instructions from https://pm2.keymetrics.io/docs/usage/quick-start/).
# Install pm2 using npm
npm install pm2@latest -g

# or install pm2 using yarn:
yarn global add pm2

# Verify pm2 version:
pm2 -v
Finally, let's install Docker and Docker Compose. These tools enable us to efficiently manage our PostgreSQL and caching databases with added flexibility, reducing complex configurations and simplifying overall management. Instructions are taken from here: https://docs.docker.com/engine/install/debian/ (if you're using Ubuntu, you can go straight to here: https://docs.docker.com/engine/install/ubuntu/) and here: https://docs.docker.com/engine/install/linux-postinstall/.
# Uninstall conflicting packages:
for pkg in docker.io docker-doc docker-compose podman-docker containerd runc; do sudo apt-get remove $pkg; done

# Clean up unused packages:
sudo apt autoremove

# Add Docker's official GPG key:
sudo apt-get update
sudo apt-get install ca-certificates curl
sudo install -m 0755 -d /etc/apt/keyrings
sudo curl -fsSL https://download.docker.com/linux/debian/gpg -o /etc/apt/keyrings/docker.asc
sudo chmod a+r /etc/apt/keyrings/docker.asc

# Add the repository to Apt sources (if you get errors on this step, check the official Docker documentation):
echo \
  "deb [arch=$(dpkg --print-architecture) signed-by=/etc/apt/keyrings/docker.asc] https://download.docker.com/linux/debian \
  $(. /etc/os-release && echo "$VERSION_CODENAME") stable" | \
  sudo tee /etc/apt/sources.list.d/docker.list > /dev/null
sudo apt-get update

# Install the latest version of Docker and its tools:
sudo apt-get install docker-ce docker-ce-cli containerd.io docker-buildx-plugin docker-compose-plugin

# Start Docker (if it's not already running):
sudo systemctl start docker

# Configure Docker to start on boot:
sudo systemctl enable docker.service
sudo systemctl enable containerd.service

# Make it so we don't have to use sudo to use Docker:
sudo groupadd docker
sudo usermod -aG docker $USER
# Either log out and log back into your user account or run this command:
newgrp docker

# If you get this error:
# WARNING: Error loading config file: /home/user/.docker/config.json -
# stat /home/user/.docker/config.json: permission denied
# Run these commands:
sudo chown "$USER":"$USER" /home/"$USER"/.docker -R
sudo chmod g+rwx "$HOME/.docker" -R

# Verify Docker version:
docker version

# Verify Docker Compose Version:
docker compose version

# Run an example Docker container to ensure it's working (this should print a whole bunch of information):
docker run hello-world
With all necessary tools installed and configured, we're ready to run the bot and its services.
Windows Instructions
First, let's install Node.js and the Yarn package manager on our machine. Open PowerShell and type in the following commands (instructions taken from https://nodejs.org/en/download):
# Download and install fnm (you might have to restart your terminal to use fnm):
winget install Schniz.fnm

# Download and install Node.js:
fnm install 22

# Verify the Node.js version:
node -v # Should print "v22.14.0".

# Download and install Yarn:
corepack enable yarn

# Verify Yarn version:
yarn -v
Next, let's install git. This will enable us to clone the GitHub repository to our local machine.
Open a web browser and head to https://git-scm.com/downloads/win. You should see a page like this:
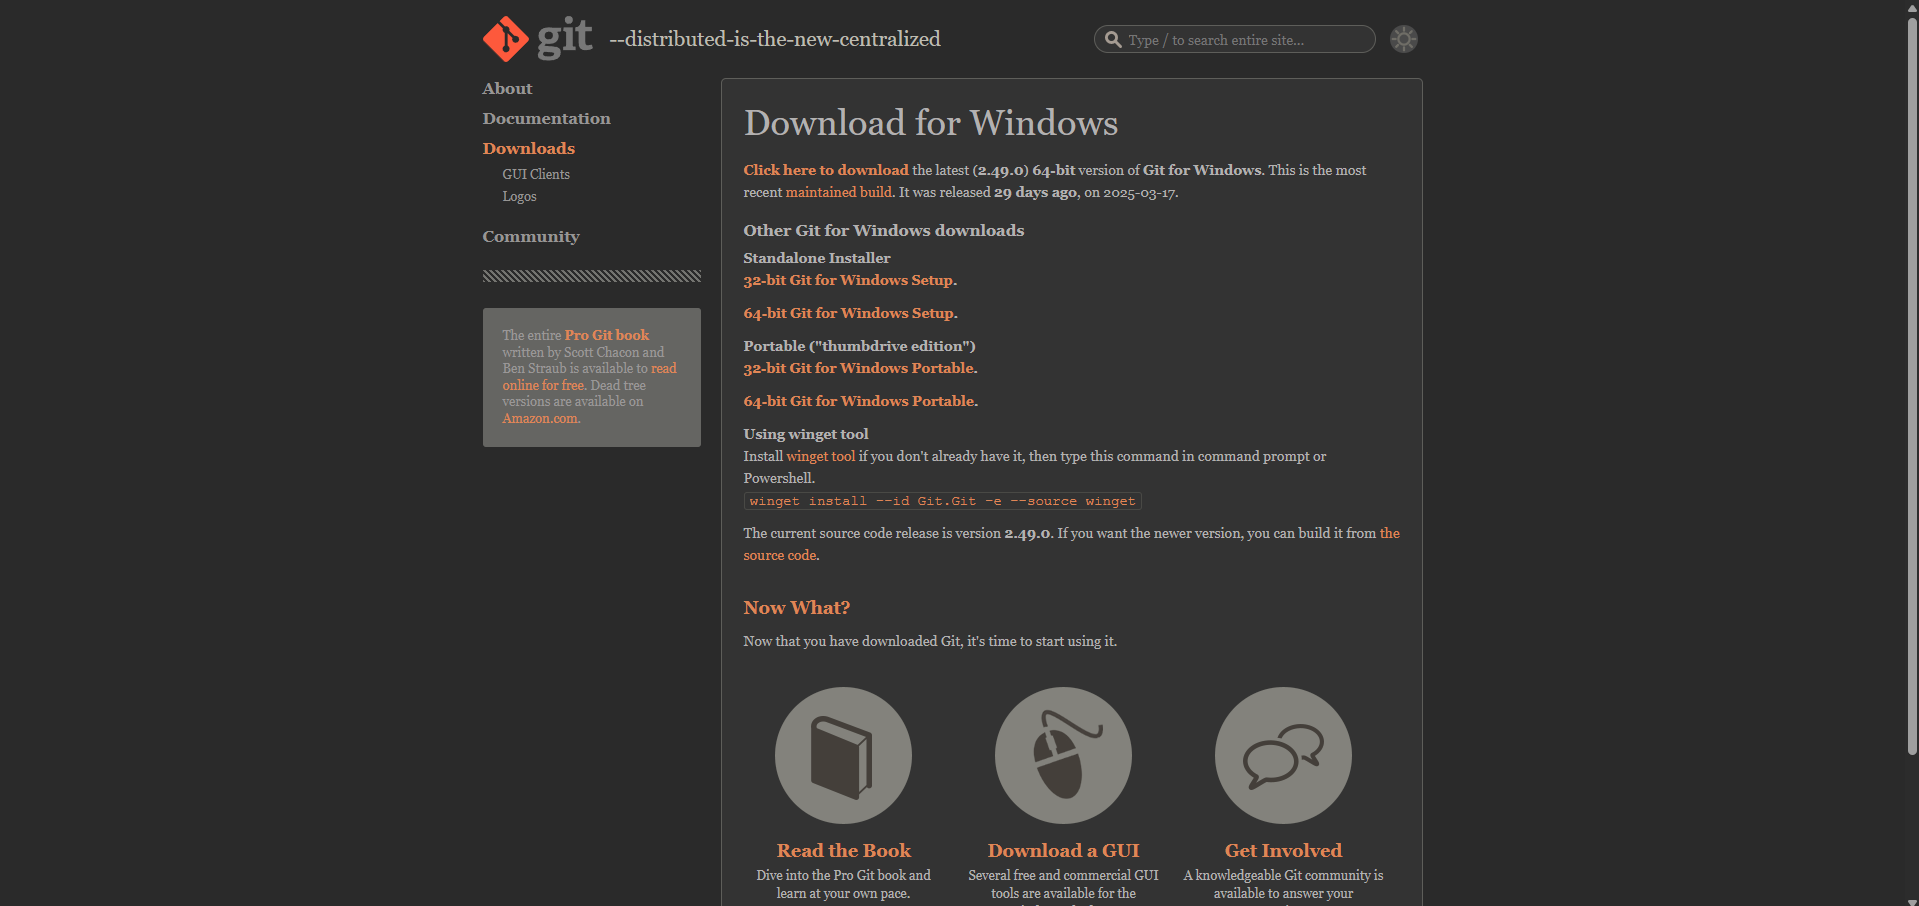
Git Download Page
Underneath the "Standalone Installer" section, click on the link that says "64-bit Git for Windows Setup."

Git Download Page
This should download the git installer to your machine. Once it's finished downloading, open the installer and follow the steps to install git. After git is finished installing, open PowerShell again and type in the following to verify that git was installed correctly:
# Verify git version (you might have to relaunch your terminal if you're using and already open window):
git --version
Now, let's install the pm2 process manager. This is how we'll run the Discord bot in a production environment (instructions from https://pm2.keymetrics.io/docs/usage/quick-start/). Run the following in PowerShell:
# Install pm2 using npm:
npm install pm2@latest -g

# or install pm2 using yarn:
yarn global add pm2

# Verify pm2 version:
pm2 -v
Finally, let's install Docker and Docker compose. These tools will make it so that we can run our PostgreSQL and caching databases without needing a separate Linux server to run them. All instructions are taken from here https://medium.com/@piyushkashyap045/comprehensive-guide-installing-docker-and-docker-compose-on-windows-linux-and-macos-a022cf82ac0b and here https://docs.docker.com/desktop/setup/install/windows-install/.
First, open a PowerShell window as an Administrator and type in the following to install the WSL runtime:
# Install the WSL runtime:
wsl --install
After the installation is complete, restart your computer.
Next, open a web browser and go to https://docs.docker.com/desktop/setup/install/windows-install/. You should see a page like this:
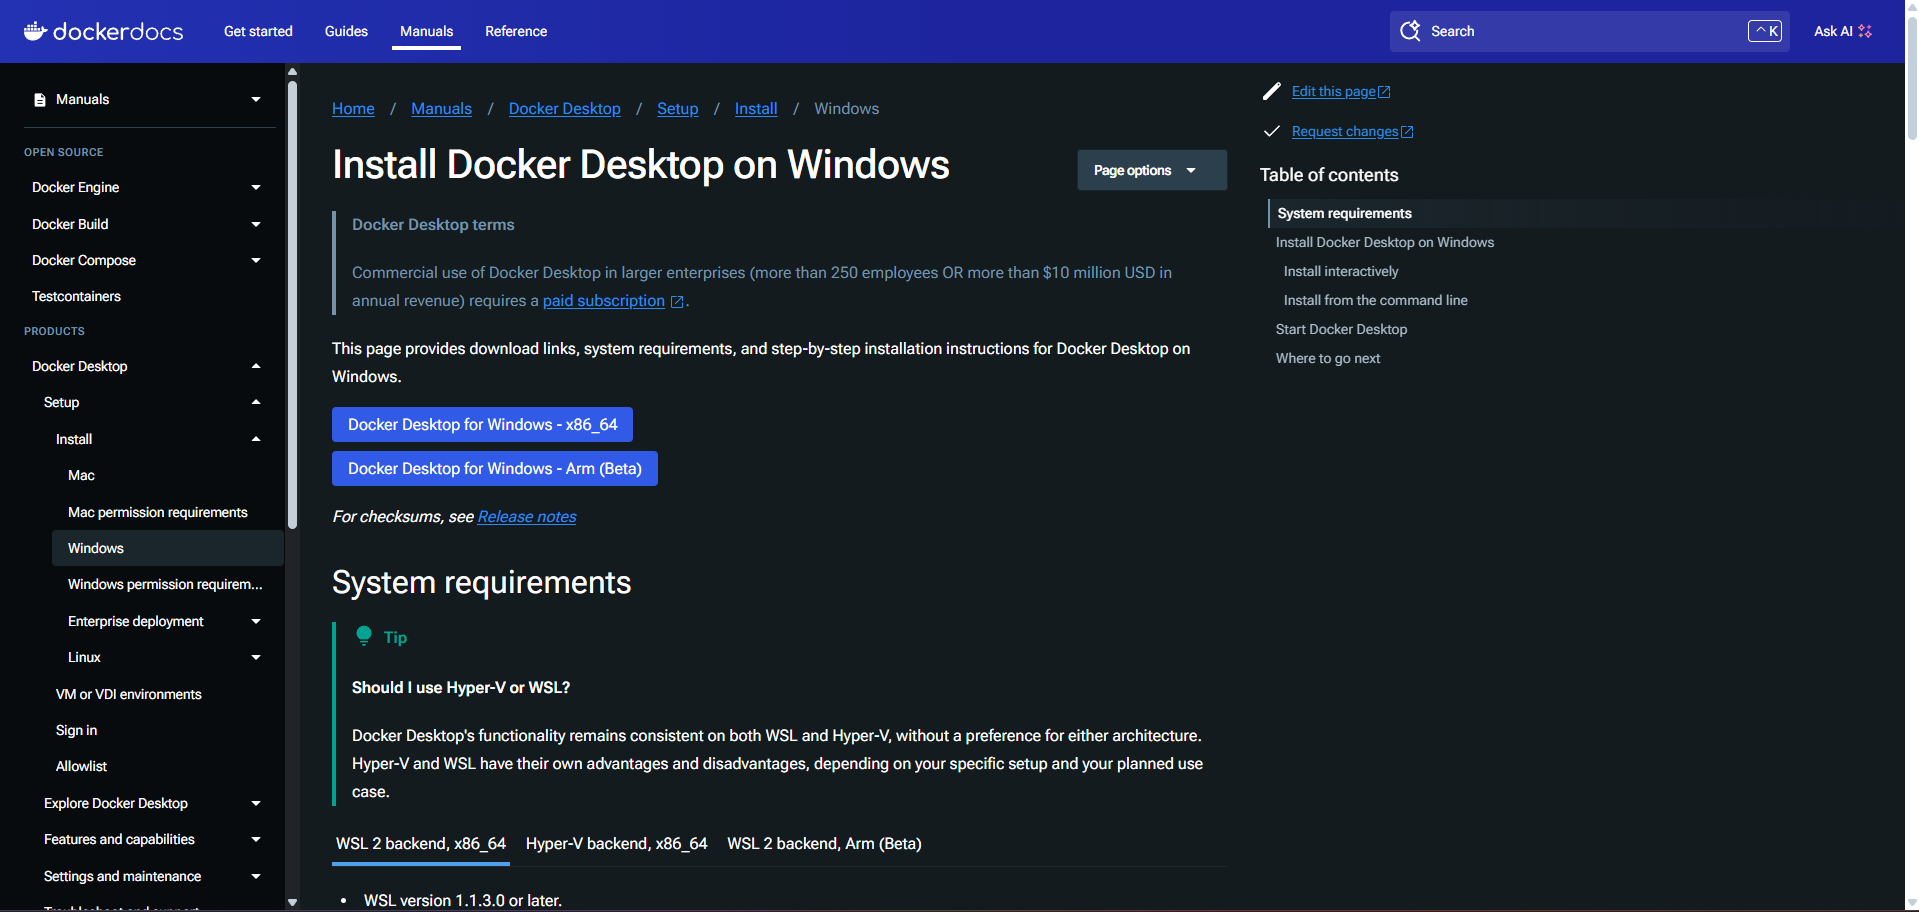
Docker Download Page for Windows
Click on the button that says, "Docker Desktop for Windows - x86_64".
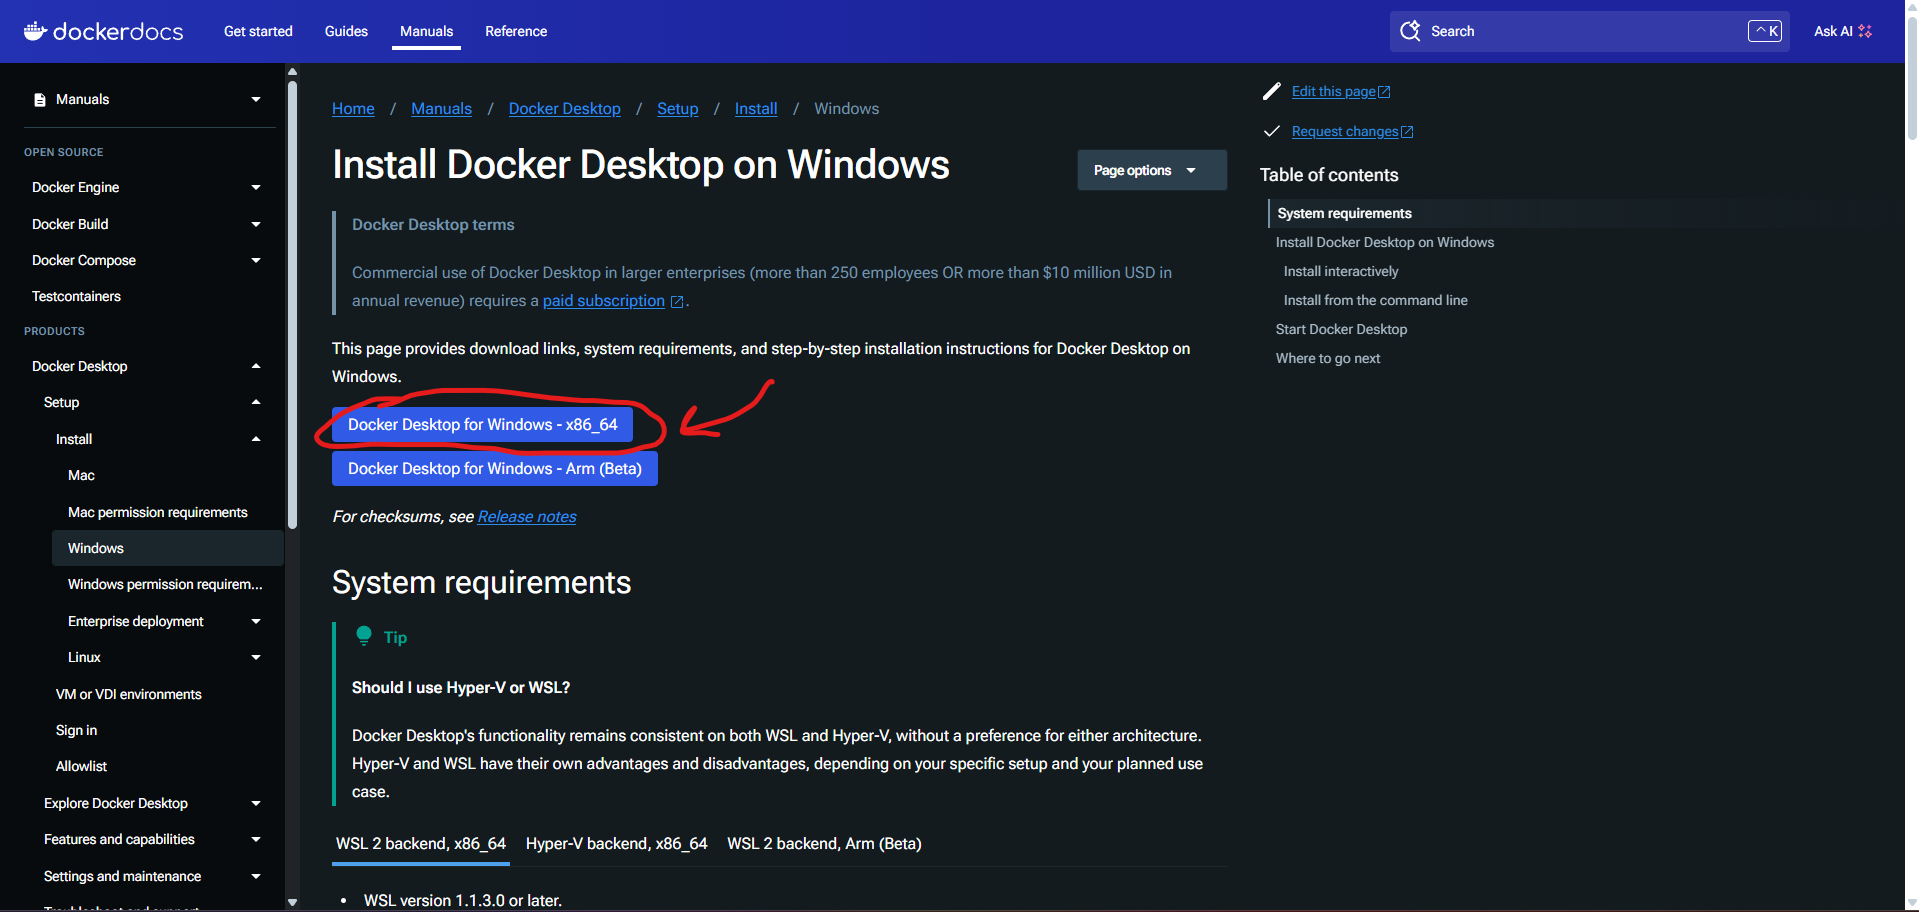
Docker Download Page for Windows
This should download the Docker installer to your machine. Once it's finished downloading, open the installer and follow the instructions to install Docker onto your machine. If it prompts you to use either Hyper-V or WSL for containers, choose WSL. Once the installation is finished, restart your computer.
Finally, open your search bar and search for Docker. Click on the option that says, "Docker Desktop". Wait for Docker to start. Once it starts up, open a new PowerShell window and type in the following:
# Verify Docker version:
docker --version

# Verify Docker Compose version:
docker compose version

# Run an example Docker container to ensure it's working (this should print a whole bunch of information):
docker run hello-world
With all necessary tools installed and configured, we're ready to run the bot and its services.
Step 3: Setup and configure the bot
Once our server is prepared, we can proceed to download and configure the bot by following these steps:
{% stepper %} {% step %}
Clone the bot's repository to your server
Open a terminal window and paste in the following:
# Clone the GitHub repository to our local machine:
git clone -b main --single-branch --depth 1 https://github.com/ahmadk953/poixpixel-discord-bot.git

# Change-Directory into the bot's directory:
cd poixpixel-discord-bot
Now, we can start configuring the bot {% endstep %}
{% step %}
Configure the bot
Run the following to copy the config.example.json file to a new file named config.json. This is where we'll store all our bot configuration options, including the bot's token.
# Copy and rename config.example.json to config.json:
cp config.example.json config.json
Next, open the new config.json file in a text editor like vim or nano on Mac/Linux, or Visual Studio Code on Windows. When you open the file, it should look something like this:
{
  "token": "DISCORD_BOT_TOKEN",
  "clientId": "DISCORD_BOT_ID",
  "guildId": "DISCORD_SERVER_ID",
  "database": {
    "dbConnectionString": "POSTGRESQL_CONNECTION_STRING",
    "maxRetryAttempts": "MAX_RETRY_ATTEMPTS",
    "retryDelay": "RETRY_DELAY_IN_MS"
  },
  "redis": {
    "redisConnectionString": "REDIS_CONNECTION_STRING",
    "retryAttempts": "RETRY_ATTEMPTS",
    "initialRetryDelay": "INITIAL_RETRY_DELAY_IN_MS"
  },
  "channels": {
    "welcome": "WELCOME_CHANNEL_ID",
    "logs": "LOG_CHANNEL_ID",
    "counting": "COUNTING_CHANNEL_ID",
    "factOfTheDay": "FACT_OF_THE_DAY_CHANNEL_ID",
    "factApproval": "FACT_APPROVAL_CHANNEL_ID",
    "advancements": "ADVANCEMENTS_CHANNEL_ID"
  },
  "roles": {
    "joinRoles": [
      "JOIN_ROLE_IDS"
    ],
    "levelRoles": [
      {
        "level": "LEVEL_NUMBER",
        "roleId": "ROLE_ID"
      },
      {
        "level": "LEVEL_NUMBER",
        "roleId": "ROLE_ID"
      },
      {
        "level": "LEVEL_NUMBER",
        "roleId": "ROLE_ID"
      }
    ],
    "staffRoles": [
      {
        "name": "ROLE_NAME",
        "roleId": "ROLE_ID"
      },
      {
        "name": "ROLE_NAME",
        "roleId": "ROLE_ID"
      },
      {
        "name": "ROLE_NAME",
        "roleId": "ROLE_ID"
      }
    ],
    "factPingRole": "FACT_OF_THE_DAY_ROLE_ID"
  },
  "leveling": {
    "xpCooldown": "XP_COOLDOWN_IN_SECONDS",
    "minXpAwarded": "MINIMUM_XP_AWARDED",
    "maxXpAwarded": "MAXIMUM_XP_AWARDED"
  }
}
To configure your bot, follow these steps:
- Replace
DISCORD_BOT_TOKENwith your bot's token. - Replace
DISCORD_BOT_IDwith your bot's Client ID. - Replace
DISCORD_SERVER_IDwith your server's ID. - Replace the following with corresponding IDs you've collected:
WELCOME_CHANNEL_IDLOG_CHANNEL_IDJOIN_ROLE_IDS
After completing these replacements, your configuration should look like this:
{
  "token": "MTM*****************************",
  "clientId": "1361135180999561387",
  "guildId": "1237197296714907678",
  "database": {
    "dbConnectionString": "POSTGRESQL_CONNECTION_STRING",
    "maxRetryAttempts": "MAX_RETRY_ATTEMPTS",
    "retryDelay": "RETRY_DELAY_IN_MS"
  },
  "redis": {
    "redisConnectionString": "REDIS_CONNECTION_STRING",
    "retryAttempts": "RETRY_ATTEMPTS",
    "initialRetryDelay": "INITIAL_RETRY_DELAY_IN_MS"
  },
  "channels": {
    "welcome": "1361198468340912319",
    "logs": "1361198724864540693",
    "counting": "COUNTING_CHANNEL_ID",
    "factOfTheDay": "FACT_OF_THE_DAY_CHANNEL_ID",
    "factApproval": "FACT_APPROVAL_CHANNEL_ID",
    "advancements": "ADVANCEMENTS_CHANNEL_ID"
  },
  "roles": {
    "joinRoles": [
      "1361197760530874528",
      "1362199066343375103"
    ],
    "levelRoles": [
      {
        "level": "LEVEL_NUMBER",
        "roleId": "ROLE_ID"
      },
      {
        "level": "LEVEL_NUMBER",
        "roleId": "ROLE_ID"
      },
      {
        "level": "LEVEL_NUMBER",
        "roleId": "ROLE_ID"
      }
    ],
    "staffRoles": [
      {
        "name": "ROLE_NAME",
        "roleId": "ROLE_ID"
      },
      {
        "name": "ROLE_NAME",
        "roleId": "ROLE_ID"
      },
      {
        "name": "ROLE_NAME",
        "roleId": "ROLE_ID"
      }
    ],
    "factPingRole": "FACT_OF_THE_DAY_ROLE_ID"
  },
  "leveling": {
    "xpCooldown": "XP_COOLDOWN_IN_SECONDS",
    "minXpAwarded": "MINIMUM_XP_AWARDED",
    "maxXpAwarded": "MAXIMUM_XP_AWARDED"
  }
}
We'll fill in the details for the caching and PostgreSQL databases later. Lastly, let's get the bot ready for when we eventually start it up. {% endstep %}
{% step %}
Setup and compile the source code
Open a terminal window in the projects root directory and run the following commands to install dependencies and compile the source code.
# Install dependencies (if asked to continue, press 'y' and hit enter for yes):
yarn install --immutable

# Invoke build tools:
yarn prepare

# Compile source code:
yarn compile
Now that we've finished preparing the bot, let's move onto setting up its resources {% endstep %} {% endstepper %}
Step 4: Set up the PostgreSQL and caching databases
Now, it's time to set up the bot's services. Follow the steps below to set up the PostgreSQL and caching databases.
{% stepper %} {% step %}
Generate SSL certificates
{% hint style="info" %} Note that this step might be a little tricky on Windows and that it's not fully tested. If anyone would like to fully test and contribute their finding, that would be extremely helpful. {% endhint %}
If on Windows, type the following into your terminal. If you're on Linux/MacOS, you can skip this step.
# Launch WSL:
wsl

# Head into the directory where the bot's files are located:
cd /mnt/DRIVELETTER/PATH/TO/DISCORD/BOT/DIRECTORY
Make sure to replace DRIVELETTER/ATH/TO/DISCORD/BOT/DIRECTORY with the path to your bot's directory as you normally would. For example:
cd /mnt/c/Users/ahmad/Downloads/poixpixel-discord-bot
There's already a shell script in the project's directory that'll generate the SSL certificates for you. Just run the following commands to execute the script:
{% hint style="info" %} Note that it's always a good idea to check scripts that you are about to execute from any source online for malicious code. If you don't understand what the script is doing or, don't know how to read bash scripts, you can always ask an AI tool to explain it for you. The source code for the script that we are about to execute can be found here. {% endhint %}
# Make the script executable:
chmod +x generate-certs.sh

# Run the script:
./generate-certs.sh
{% hint style="info" %} Note that these SSL certificates will expire after a year. Simply re-run the script to generate new ones and restart both the bot and the Docker containers. {% endhint %}
Now that we have the SSL certificates set up, we can move onto configuring environment variables for our Docker containers. Windows users can now switch back to their normal terminals by simply closing and re-opening their terminals. {% endstep %}
{% step %}
Set up environment variables
Run the following to copy the .env.example file to a new file named .env. This is where our database username and password, as well as our caching database's password will live.
# Copy and rename .env.example to .env:
cp .env.example .env
Next, open the new .env file. You should see something like this:
POSTGRES_USER=your_postgres_user
POSTGRES_PASSWORD=your_postgres_password
POSTGRES_DB=your_database_name
VALKEY_PASSWORD=your_valkey_password
To configure your bot's resources, follow these steps:
- Replace
your_postgres_userwith your desired username for connecting to the database. - Replace
your_postgres_passwordwith a secure password for the database user you just specified. - Substitute
your_database_namewith a name for the Postgres database that will store your bot's data. - Replace
your_valkey_passwordwith a password for your Valkey database, which serves as a caching database.
When you're done, your config file should look like this:
POSTGRES_USER=bot-user
POSTGRES_PASSWORD=password
POSTGRES_DB=bot-db
VALKEY_PASSWORD=password
With our bot's resources configured, let's launch their Docker containers. {% endstep %}
{% step %}
Spin up the Docker containers
This step is relatively simple; all you have to do is run the command below to start up the Docker containers
# Spin up the Docker containers:
docker compose up -d
And in case you need to stop the containers:
# Stop the containers WITHOUT deleting and removing them:
docker compose stop

# Stop the containers and DELETE/REMOVE THEM. Note your DATA WILL BE SAFE. This just deletes the actual Docker containers:
docker compose down
Lastly, to restart the containers and view their logs, you can run the following commands:
# Restart the Docker containers:
docker compose restart

# View Docker container logs:
docker compose logs
Once all the bot's resources are operational, let's complete the configuration and start it up. {% endstep %} {% endstepper %}
Step 5: Finish bot configuration
Now that we have the bot's resources up and running, let's finish configuring it. Open the config.json file again and scroll to the section that look like this:
"database": {
    "dbConnectionString": "POSTGRESQL_CONNECTION_STRING",
    "maxRetryAttempts": "MAX_RETRY_ATTEMPTS",
    "retryDelay": "RETRY_DELAY_IN_MS"
},
You can use the following template to obtain the PostgreSQL connection string: postgresql://username:password@localhost/database.
Since the bot and the Postgres instance run on the same server, the format should be: postgresql://username:password@localhost/database.
Fill out the format as follows:
- Replace
usernamewith the value from thePOSTGRES_USERenvironment variable. - Replace
passwordwith the value from thePOSTGRES_PASSWORDenvironment variable. - Replace
databasewith the value from thePOSTGRES_DBenvironment variable.
Once updated, it should look like this example: postgresql://bot-user:password@localhost/bot-db. Replace POSTGRESQL_CONNECTION_STRING with this value.
Lastly, replace MAX_RETRY_ATTEMPTS with the desired maximum number of connection attempts. Then, change RETRY_DELAY_IN_MS to specify the wait time in milliseconds between retries. You should now have something that look like this:
"database": {
    "dbConnectionString": "postgresql://bot-user:password@localhost/bot-db",
    "maxRetryAttempts": "5",
    "retryDelay": "2000"
},
Next, scroll down to the section that looks like this:
"redis": {
    "redisConnectionString": "REDIS_CONNECTION_STRING",
    "retryAttempts": "RETRY_ATTEMPTS",
    "initialRetryDelay": "INITIAL_RETRY_DELAY_IN_MS"
},
You can use the following template to obtain the Redis (in our case, Valkey since they're compatible with each other) connection string: redis://username:password@host:port.
In our case, this is the format we'll be using: redis://default:password@localhost:6379. All you have to do is replace password with the value you set for the VALKEY_PASSWORD environment variable. Replace REDIS_CONNECTION_STRING with this value.
Lastly, replace RETRY_ATTEMPTS with the desired maximum number of connection attempts. Then, change INITIAL_RETRY_DELAY_IN_MS to specify the wait time in milliseconds between retries. You should now have something that look like this:
"redis": {
    "redisConnectionString": "redis://default:password@localhost:6379",
    "retryAttempts": "3",
    "initialRetryDelay": "3000"
},
Now, let's proceed to set up the tables in our database and start the bot.
Step 6: Set up database tables
To set up the database tables, all you have to do is run the following commands:
# Generate SQL migration file:
npx drizzle-kit generate

# Apply SQL migration to database:
npx drizzle-kit migrate
Now, we can finally start the bot.
Step 7: Start the bot
To start the bot, simply run the following:
# Start the bot in production mode:
yarn start:prod
To view the bot's logs, type in this command:
# To view bot logs:
pm2 logs
To stop the bot, run this command:
# To stop the bot:
pm2 stop poixpixel-discord-bot
Finally, go to your Discord server and test out the bot's commands to make sure that it's working. Once you have verified that it is working, you can move onto reading about some of the bot's basic configuration options linked below.
{% content-ref url="../basic-configuration.md" %} basic-configuration.md {% endcontent-ref %}